
You’ve poured your time and creativity into handmade pieces. Be they crocheted scarves, painted ceramics, or custom gifts, your handmade creations deserve the spotlight.
Naturally, you want your craft projects to look just as impressive in photos as they do in real life, right? But blurry photos and uneven angles can take away from all your hard work.
That is where smart photography practices come in. Its good part is that by making small changes, you can elevate your DIY visuals without splurging on high-end gear. Whether you’re a hobbyist sharing on social media or a seller listing on Etsy, these improvements will make your creations pop.
That said, let’s walk through easy steps that can transform your photos into magazine-worthy ones. There you go!
Why Craft Photography Needs More Than Just a Good Camera
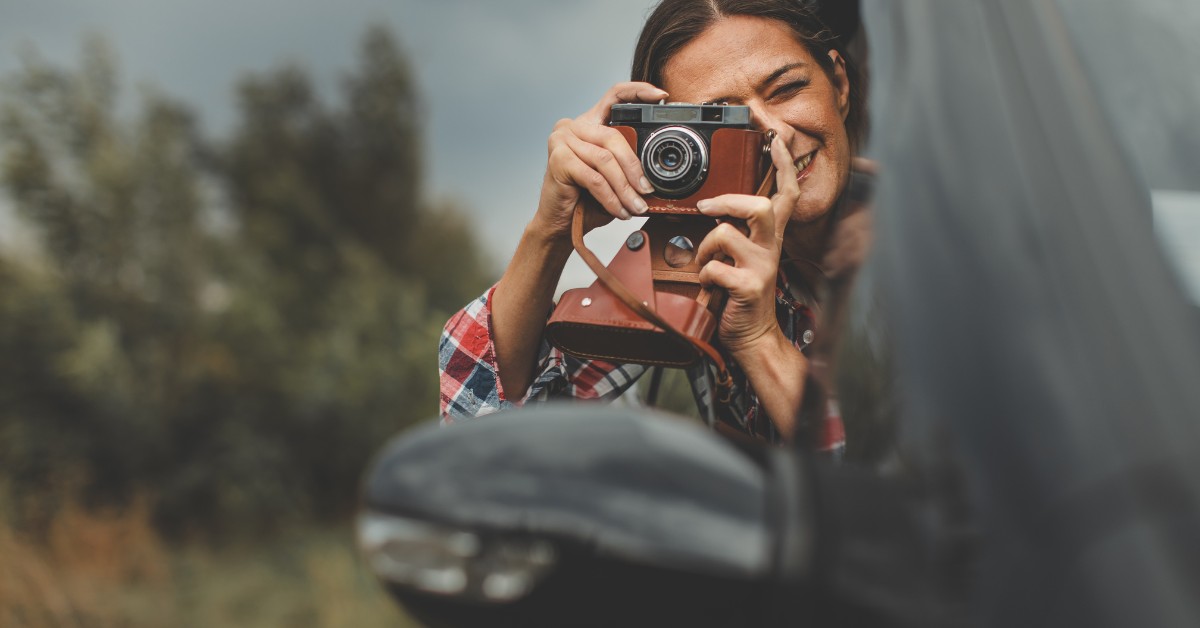
While having a good-quality camera or smartphone is a great starting point, DIY photography often demands more. To capture the fine details of your handmade projects, like brush textures, fabric weaves, or bead finishes, you need proper stabilization and support gear.
For example, a camera stand keeps your shots steady, especially when photographing in low light or from overhead angles. It eliminates motion blur and allows you to work hands-free, especially helpful during step-by-step tutorials. Tools like adjustable mounts, boom arms, and LED lighting panels further help maintain consistency and precision in your shots.
If you’re planning to upgrade your craft photography setup, reliable platforms such as Adorama offer a wide range of creator-friendly camera accessories. From entry-level stands to professional pedestals, their selection ensures you find gear tailored to your creative needs.
| Bonus tip: If you’re also shooting videos or reels, use stabilization tools like mini tripods or gimbals. They can keep things smooth and professional without breaking the bank. |
Build a DIY-Friendly Photography Setup
You don’t need a full studio for such tasks. All you need is just a bit of planning. Here’s how to get started:
- Find your light: Use natural daylight near a window or the right sources of lighting, and soften harsh shadows with a sheer curtain or light diffuser.
- Create a neutral background: White foam boards, matte paper, or subtle fabrics help keep attention on your project.
- Secure your camera: Mount your camera or smartphone on a stand with an adjustable head for flexibility. Consider overhead arms or horizontal extensions if you need top-down shots.
- Keep your workspace tidy: Use trays or boards to organize tools and minimize background clutter.
Want to level up? Consider adding a ring light or bounce board. Even a budget-friendly clamp lamp can make a big difference when placed strategically.
Elevate Visuals with Smart Techniques
With your setup in place, focus on techniques that bring clarity and personality to your shots:
- Use natural reflectors: Bounce light with aluminum foil or white cards to soften shadows. It’s a DIY trick that makes textures pop without harsh contrasts.
- Play with perspective: Shoot from eye level, 45 degrees, or directly overhead, depending on your craft’s dimensions. This helps highlight both texture and form.
- Watch your lighting: Avoid mixing warm and cool tones. Stick to one light source or manually adjust white balance to maintain accurate coloring.
- Try burst mode: When capturing movement (like painting strokes or adding layers), use burst shots to select the clearest frame later.
The goal is to make your photo as informative and visually appealing as possible. It especially holds an exceptional value if you’re guiding your audience through a tutorial or selling products online.
Make Your Photos Work for You
Whether you’re posting tutorials, entering craft fairs, or running an online store, professional-looking photos help build trust and visibility. Viewers want to see texture, finish, and scale. Here is how to boost impact:
- Document the process: A stable setup lets you photograph each step clearly without interruption.
- Edit minimally: Tweak contrast and brightness, but avoid heavy filters. Accuracy matters to buyers.
- Present with purpose: Use consistent framing and clean backdrops for a cohesive feed or shop layout.
To Sum It All Up!
DIY projects are more than hobbies. In fact, they are a reflection of your creativity. Don’t let shaky or dull images undercut your efforts. Hence, to make things stand out, invest in simple tools as mentioned above in the article. They can instantly upgrade how your work is seen and appreciated.
Ultimately, with the right angles, lighting, and thoughtful composition, your crafts won’t just shine—they’ll sell. So, next time you finish a project, give it the photo it deserves. After all, presentation is part of the art.