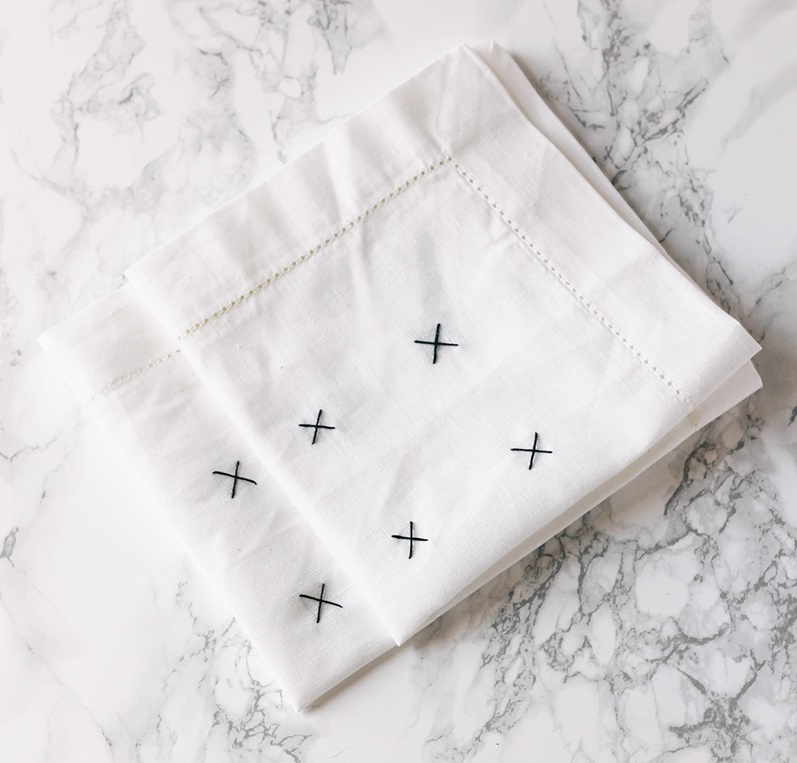
Maybe it’s the allure of adding a personal touch to my table settings or just the simple satisfaction that comes from handcrafting something, but I’ve recently developed a love for creating my own napkins. There’s something magical about taking a simple piece of fabric and transforming it into something unique and special. And when it comes to DIY, cross-stitch napkins are an easy yet creative project that blends modern style with traditional charm.
Inspired by the idea of classic cross-stitch patterns, I decided to create my own DIY cross-stitch napkins. The fun part? You can play with colours, designs, and shapes to make something that fits your personal style. Whether you’re hosting a fancy dinner or just enjoying a casual brunch, these napkins will make any setting look a bit more polished.
For this project, you’ll need the following:
- Plain linen or cotton napkins (I picked up some plain ones from a local craft store)
- Embroidery thread in the colour(s) of your choice
- Needle
- Ruler
- Pencil
- Embroidery hoop (optional but helpful)
Step 1: Prepare Your Napkins
Lay your napkin flat on a clean surface. Make sure it’s ironed and free of any wrinkles. If you’re using an embroidery hoop, place the fabric in the hoop to hold it steady while stitching. This will make the process smoother, but you can certainly skip it if you feel comfortable working without it.
Step 2: Create Your Grid
Using a ruler, measure the distance from one edge of the napkin to the other. Divide this by four or five (depending on how large you want your stitches), and make a light pencil mark every inch or so. Draw horizontal and vertical lines across the napkin to create a grid. This will act as your guide for stitching.
Step 3: Thread Your Needle
Take your embroidery thread and split it into three strands. Thread your needle and tie a knot at the end of the thread. This will help secure the stitches as you work.
Step 4: Start Stitching
To create the cross-stitch, start at one corner of the grid. Insert your needle from the back of the fabric and bring it through to the front, pulling the thread until the knot holds it in place. Cross over to the opposite corner of the square to create one half of the “X,” and then come back up through the fabric to complete the other side of the “X.” Repeat this process until you’ve filled in all the points where the grid lines intersect.
Step 5: Secure Your Stitch
Once you finish stitching each “X,” flip the napkin over and thread the needle through the stitch at the back. Tie a small knot to secure the thread, making sure it’s tight and won’t come loose. Snip the excess thread, and move on to the next stitch.
Step 6: Repeat and Customize
Continue cross-stitching along your grid until you’ve filled in the entire napkin, or stop whenever you’re happy with the design. You can add variations by changing the colour of the thread or creating different shapes and patterns.
Step 7: Finishing Touches
Once you’ve completed your design, give the napkin a light ironing to remove any remaining pencil marks. Your DIY cross-stitch napkins are now ready to use! Whether for special occasions or just sprucing up everyday meals, these napkins add a thoughtful, handmade touch to your table.
This DIY project is perfect for beginners, as the repetitive nature of cross-stitching can be both meditative and rewarding. Plus, with just a few supplies and a little time, you can create something totally unique that reflects your personal style. So, the next time you find yourself itching for a craft, grab some fabric, and give these cross-stitch napkins a try. You’ll love the results—and so will your guests!


Leave a Reply